Step-by-step guide to painting landscapes in acrylic
Landscape painting is a captivating way to capture the beauty of nature, whether you’re painting vast mountains, serene lakes, or lush forests. One of the best things about landscape painting is the flexibility it offers in terms of style, scale, and detail. If you’re using acrylic paints, you’re in for an exciting and rewarding experience. Acrylics are perfect for landscapes because they’re versatile, dry quickly, and allow for vibrant, bold colours that can truly bring nature to life on canvas.
In this step-by-step guide, we’ll walk you through the process of painting landscapes in acrylic, from preparing your materials to applying the final brushstroke:
- Acrylics are a solid choice for landscape paintings
- Preparing your materials
- Sketching your landscape
- Painting techniques for landscape elements
- Be patient and as always: Practice makes perfect

Acrylics are a solid choice for landscape paintings
Acrylic paints are an ideal choice for landscape painting because of their quick-drying nature and vibrant colour options. They can be used in a wide variety of ways, from thin washes to thick impasto layers, giving artists the freedom to experiment with textures and styles. The speed at which acrylics dry means you can layer colours without waiting long, making them perfect for landscapes where the effects of light and atmosphere change rapidly. The variety of acrylic mediums available, such as glazing and texture pastes, also gives you the flexibility to enhance your landscapes in ways that are both subtle and dramatic.
With that said, let’s dive into the process of creating a stunning landscape painting using acrylic paints!
Preparing your materials
Before you start painting, it’s important to gather the right materials. Having everything ready and organised will make your painting process much smoother and more enjoyable.
Canvas
Acrylics work well on a variety of surfaces, but for beginners, a pre-stretched canvas is a good option. You can also use canvas boards or acrylic paper, depending on your preference. The texture of the canvas will influence the final result, so choose one that suits the style of painting you want to achieve. A medium-textured canvas works well for landscapes as it allows enough grip for the paint while still giving you smooth coverage.
Brushes
You’ll need a variety of brushes to tackle different elements of your landscape. A flat brush is ideal for covering larger areas, while smaller round brushes are perfect for fine details. A fan brush is great for painting trees and foliage, and a stiff-bristled brush can be useful for adding texture to mountains and rocks.
Acrylic Paints
For a basic landscape, you’ll want to start with a selection of essential colours:
- Blues: For skies and water
- Greens: For foliage, grass, and trees
- Earth tones: Like ochre, burnt sienna, and umber for mountains, dirt paths, or rocks
- Whites and Blacks: For highlights, shadows, and adding contrast
You can always mix other colours to create custom shades, but having a basic palette ready is a good start.
Palette and Mediums
A palette will be used to mix your colours, and it’s helpful to use a non-porous surface like a glass or acrylic palette. If you plan on using thicker textures or glazes, you may want to add an acrylic medium, such as a slow-drying medium, to keep your paints workable for longer.

Sketching your landscape
Once you have your materials, it’s time to sketch the basic elements of your landscape. Start with light pencil marks so they’re easy to erase if necessary.
Step 1: Outline the horizon line
The horizon line is the dividing line between the sky and the land (or water). Place it about one-third or halfway up your canvas, depending on the composition you want to create. For a dramatic landscape, a low horizon with more sky or a high horizon for more land can set the tone.
Step 2: Add key elements
Now sketch the larger elements in your landscape. This could include mountains, trees, bodies of water, or any other significant features like roads or buildings. Keep the lines light and simple at this stage to serve as a guide when you start painting.
Step 3: Include foreground and background
Plan your foreground (the area in front of the viewer) and background (the distant elements) in your sketch. The foreground will typically have more detail, while the background should be softer and lighter to create a sense of depth.
Painting techniques for landscape elements
Once you’re happy with your sketch, it’s time to start painting! Here are some key techniques for different parts of the landscape:
Painting the sky
The sky is often the focal point of a landscape. Start by painting the sky using a flat brush and blend your colours gently to create smooth transitions. For a clear sky, mix a bit of white with blue to create soft gradients. For a sunset or sunrise, you can add orange, pink, and purple to create depth and a vibrant atmosphere. Use a gentle brushing technique to keep the transitions smooth.
Creating water
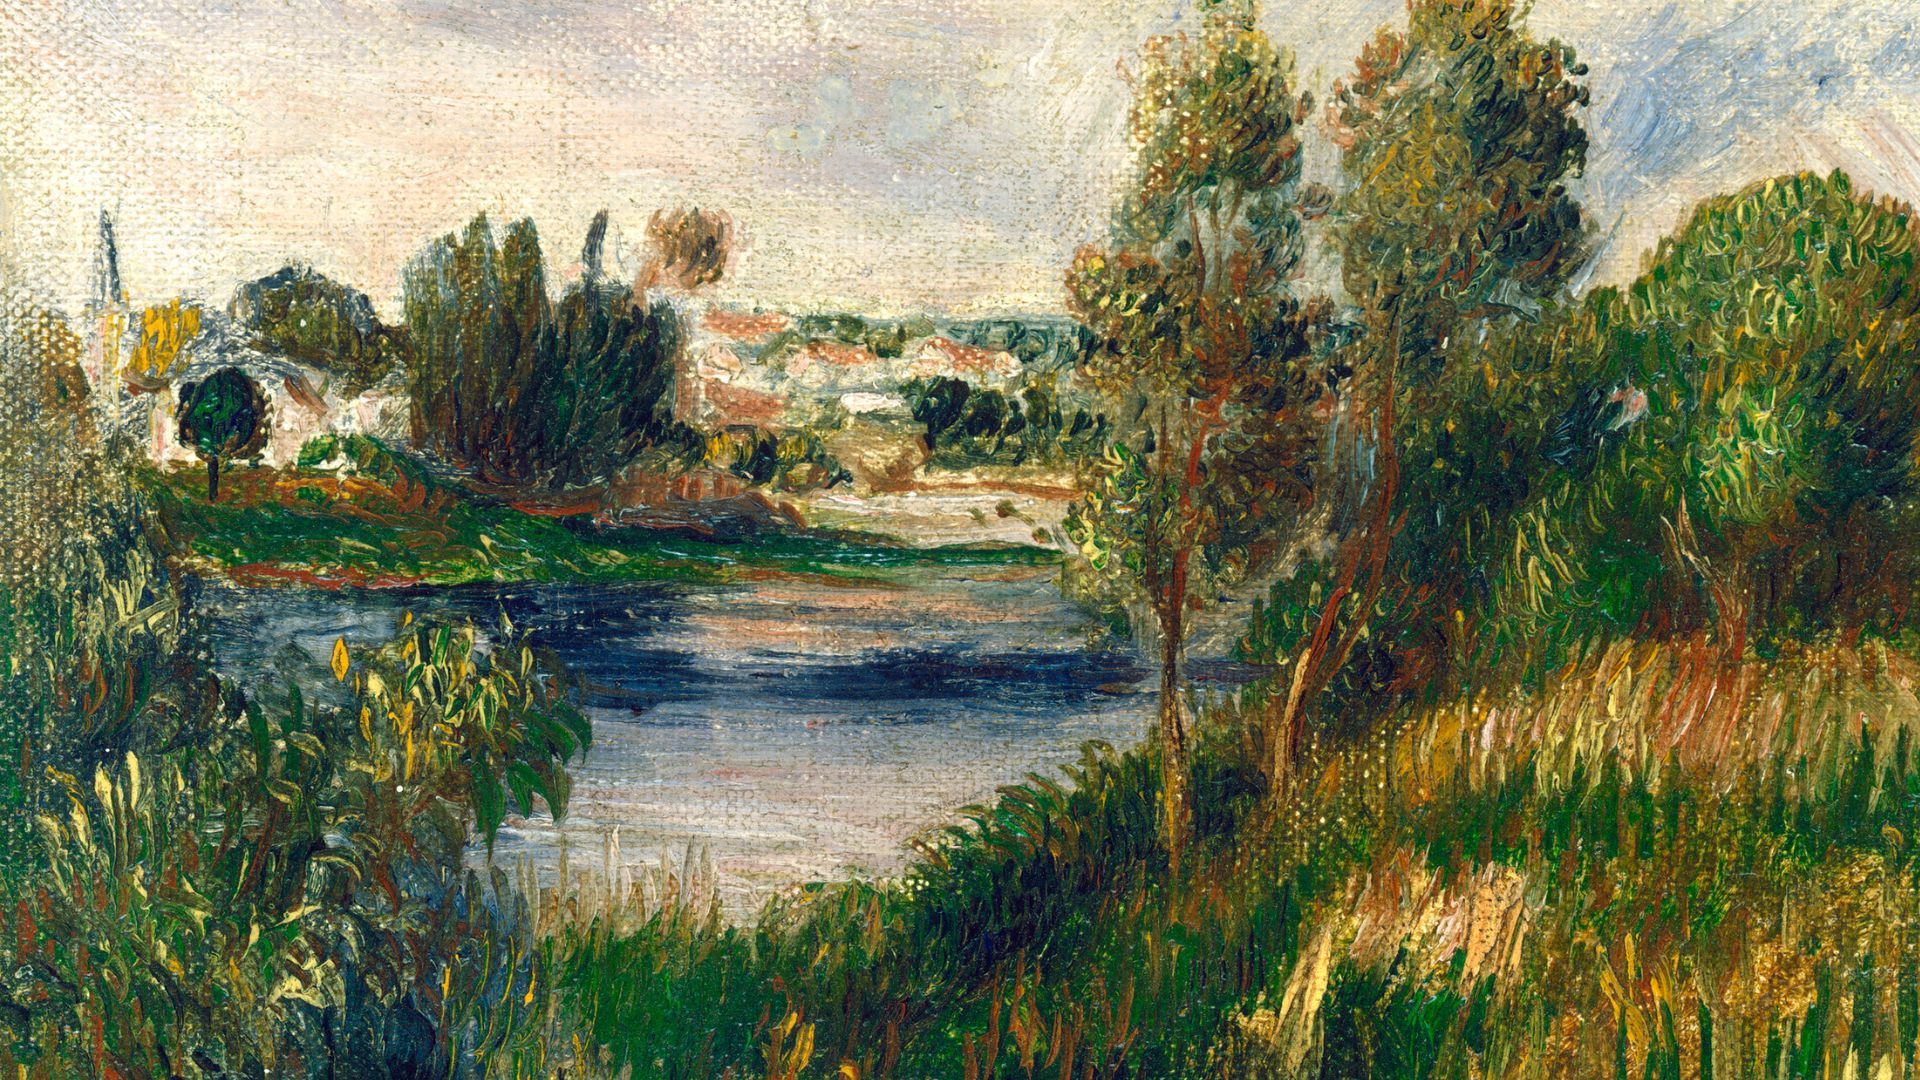
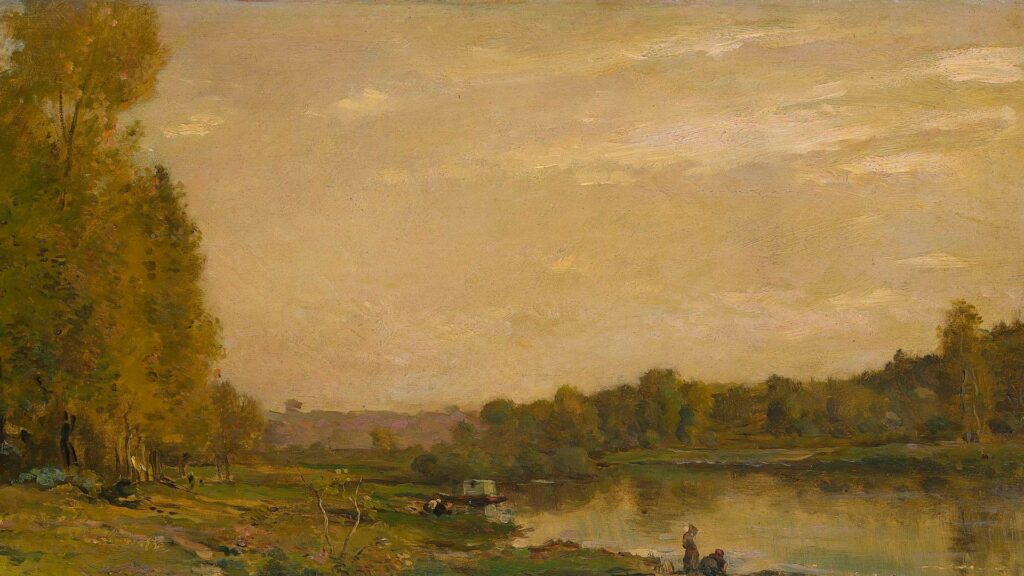
Water should reflect the colours and light in the environment, so blend your colours carefully. Start by painting the base colour of the water (usually a darker shade of blue or green), and then add lighter tones as you move towards the horizon. For reflections, use horizontal strokes and soften the lines to create a reflective surface. You can also use a fan brush to create ripples or waves.
Painting trees and foliage
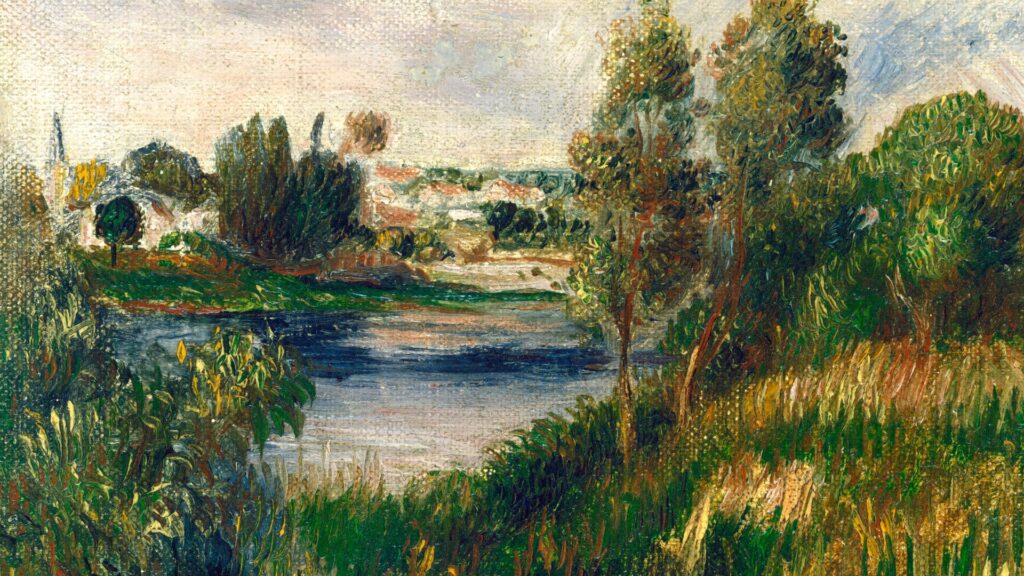
For foliage, use a combination of brushwork and layering. Start with the basic shape of the tree or plant using a round or flat brush, and then build up layers of leaves or branches. You can use a fan brush to create texture and detail, especially for foliage in the foreground. For trees, consider using darker tones for shadowed areas and lighter tones for sunlit leaves. Don’t be afraid to layer your paint to create depth.
Painting distant objects
Objects in the distance should appear lighter and less defined to give the painting depth. This can be achieved by using lighter colours and softer brushstrokes. For mountains, mix a pale blue-grey or white to show distant peaks, and avoid too much detail—let the hazy effect suggest the mountains’ shape.
Be patient and as always: Practice makes perfect
Creating a landscape painting in acrylics can be an incredibly rewarding experience. By starting with a solid sketch, using the right materials, and employing blending and layering techniques, you can bring the beauty of the natural world to life on your canvas. The key is to be patient and practice regularly—landscape painting is a skill that improves with every attempt.
Let’s look at what we’ve learned today:
- Acrylic paints are perfect for landscapes due to their vibrant colours, versatility, and quick drying time, allowing for smooth blending and bold contrasts.
- Start with a pre-stretched canvas, a variety of brushes (flat, round, fan), a basic palette of colours (blues, greens, earth tones), and an acrylic medium for texture or slower drying if needed.
- Begin by lightly sketching the horizon line, key elements (mountains, trees, water), and the foreground and background to create a basic structure for your painting.
- Use flat brushes for smooth skies, blend colours for water reflections, build layers for foliage with fan brushes, and create distant objects with lighter colours and soft brushstrokes.
- Practice blending, layering, and experimenting with colour and texture to refine your landscape painting skills. Keep experimenting with different techniques to enhance your results and improve with each piece.
Experiment with different colour combinations, textures, and perspectives to create your own unique landscapes. So, grab your brushes, get inspired by the world around you, and start painting your own stunning landscape masterpieces!